
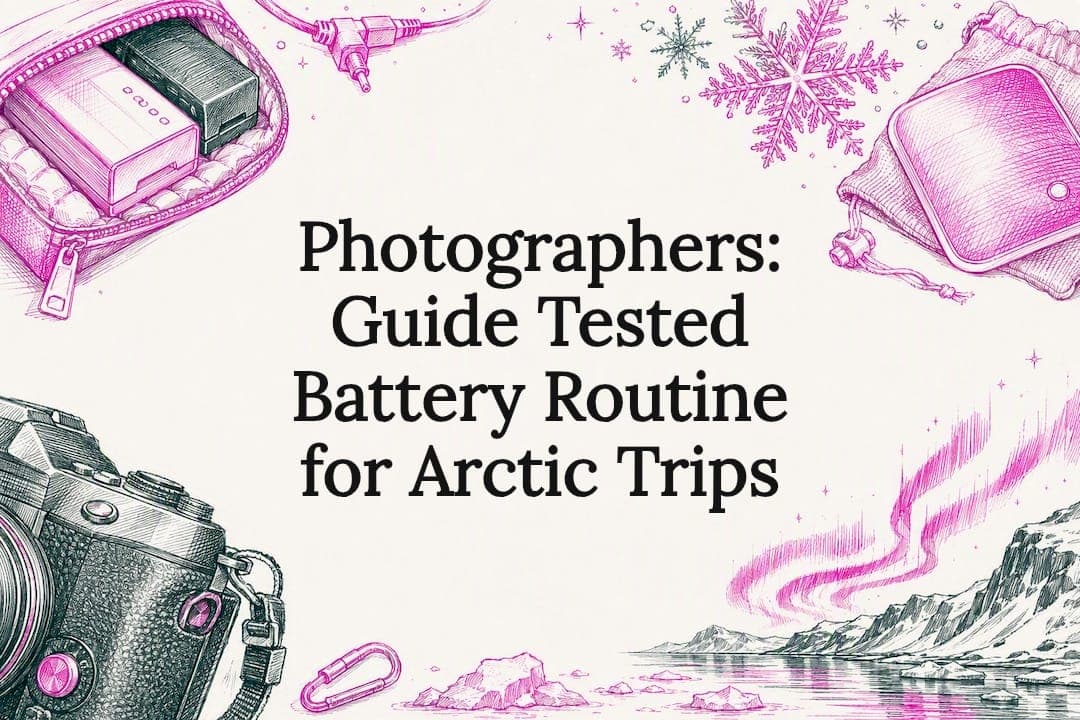
The single most important habit for a cold weather battery: keep spares in an inner jacket pocket close to your body, and rotate them into your camera or phone every 20 to 30 minutes. Never plug in a battery that's still cold. Cold causes voltage sag, and warming a battery for even 10 to 20 minutes often restores the charge you thought you'd lost. Pack extra, keep them warm, and everything else follows.
TL;DR:
- Keep spare batteries in an insulated inner pocket close to your body and warm them with your palm or a hand warmer every 20 to 30 minutes in subzero temperatures.
- Charge batteries fully before departure and wait 30 to 60 minutes indoors before charging cold batteries to avoid capacity loss.
- Seal your camera and batteries in a plastic bag prior to bringing them into heated environments to prevent condensation formation inside the gear.
- Pack multiple power banks under 100Wh in carry-on luggage, and use them in inner pockets to ensure reliable field power for cameras and phones.
- Follow a strict rotation routine for batteries during fieldwork, swapping spares frequently, and avoiding direct contact between batteries and metal parts to maintain performance.
Table of Contents
- What should be on your pre-departure checklist?
- How do you manage batteries in the field without losing shots?
- What charging gear should you pack, and how do you use it safely?
- How do you stop condensation from wrecking your gear?
- What belongs in your Arctic camera and phone kit?
- What do local guides actually do differently?
- Why battery discipline shapes the whole trip
- Ready to shoot the aurora without the gear stress?
- Sources
What should be on your pre-departure checklist?
Getting this right starts before you ever feel the Arctic wind.
Run through this before you close your bags:
- Fully charge every battery and pack several times your normal count, especially for cameras.
- Choose power banks under 100 watt-hours, where possible, for easier air travel.
- Pack insulated inner pockets or neoprene pouches, plus terminal protection caps for spare batteries.
- Bring chemical hand warmers and a little silica gel packets.
- Remove batteries and memory cards from camera bodies before sealing bags for transit or storage.
That last point matters more than people expect. A sealed bag with a battery still inside means you can't get to it without breaking the seal and risking condensation.
How do you manage batteries in the field without losing shots?
Cold weather doesn't kill batteries outright. It makes them lie to you. A lithium-ion cell in freezing air shows a false low reading because cold increases internal resistance and produces sudden ghost shutdowns, even when there's real charge left. Warm that same battery in your palm or an inner pocket for a few minutes, and it often comes right back to life. The battery management system inside most modern cameras and phones cuts power defensively at low voltage, not because the cell is actually dead.
Here's the rotation routine that works for full days outdoors:
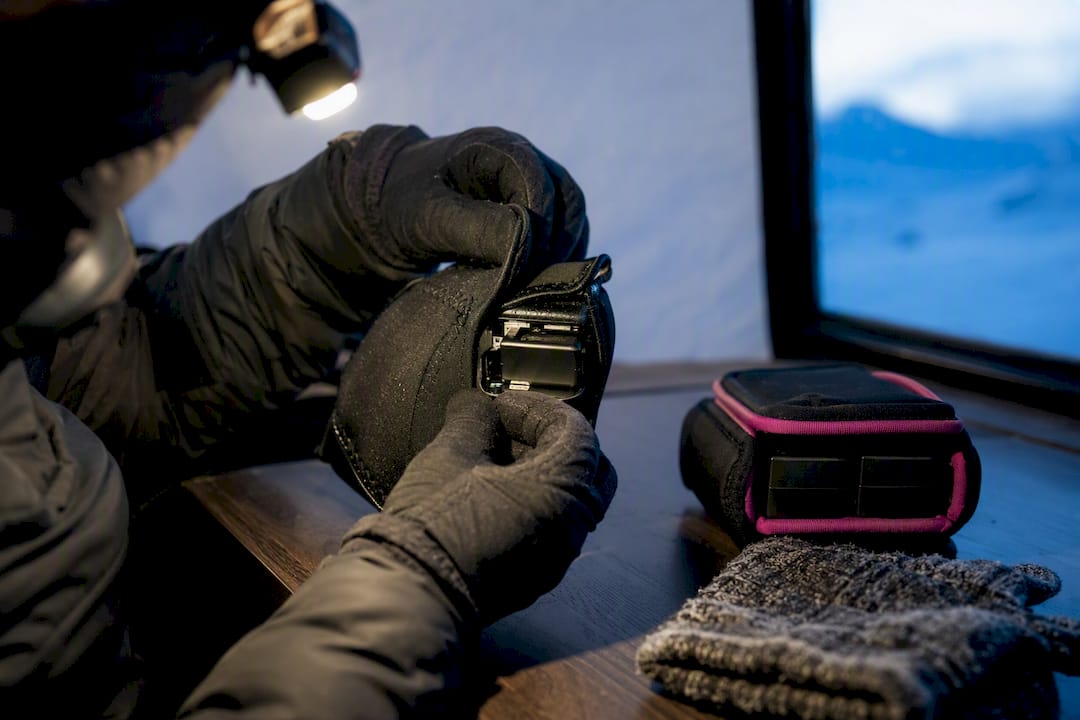
- Keep two to three spares in an inner jacket pocket, never in an outer pocket or camera bag.
- Swap the active battery out every 20 to 30 minutes of continuous shooting in temperatures below 14°F (negative 10°C).
- Tuck a chemical hand warmer near, not touching, the spare batteries in your pocket. Direct contact can overheat small cells.
- Give a "dead" battery 10 to 20 minutes of body heat before writing it off.
Above about 20°F, most batteries hold up for an hour or more between swaps. Below 0°F, expect runtime to drop fast, and that's your signal to switch to an external power source or wrap up the session rather than keep cycling dying cells.
Pro Tip: Carry your active battery in the camera but keep the grip or body itself insulated with a neoprene wrap. The battery loses heat to the metal chassis faster than it loses heat to the air.
What charging gear should you pack, and how do you use it safely?
Airlines cap lithium battery capacity at 100 watt-hours for carry-on without airline approval, and most travelers stay comfortably under that by carrying multiple power banks rated below 100Wh rather than one large unit. It's a smarter packing strategy anyway: if one bank fails or freezes, you still have backups.
Rules worth building into your routine:
- All lithium batteries and power banks travel in carry-on luggage, never checked bags.
- Keep power banks in an interior jacket pocket while using them in the field, not clipped to the outside of a pack.
- Wait until a cold battery reaches near room temperature before charging it. That's typically 30 to 60 minutes indoors, long enough to avoid the lithium plating that permanently shrinks capacity.
- Use the camera manufacturer's charger back at the hotel; save USB-C field charging for phones and power banks only.
A 30 to 60 minute warm-up window feels excessive when you just want to shoot again, but it's the difference between a battery that lasts three winters and one that's noticeably weaker by spring.
How do you stop condensation from wrecking your gear?
Moving a frozen camera into a heated cabin or hotel room is where more Arctic gear gets damaged than actual cold exposure. Warm, moist indoor air hits cold metal and glass, and condensation forms instantly, sometimes inside the lens or body.
The fix is simple and used by nearly every seasoned Arctic photographer: seal your camera in a plastic bag or dry bag while it's still outside, squeeze out the air, and don't open it until the gear has reached room temperature. That takes roughly 30 to 60 minutes depending on the temperature swing. Condensation forms on the bag's exterior instead of your equipment.
Before you seal anything:
- Pull batteries and memory cards out first if you'll need them indoors right away.
- Use a vestibule, mudroom, or vehicle as a staging area to slow the temperature change rather than going straight from minus 20 to a heated lobby.
- Drop a silica gel packet into your camera bag for multi-day trips to manage residual moisture.
- For expedition-length travel, a dedicated dry sack keeps your whole kit protected, not just one body and lens.
What belongs in your Arctic camera and phone kit?
Pack more battery than you think you need. Seasoned Arctic photographers treat extra spares as cheap insurance against unreliable field charging, and that mindset holds up better than any gadget.
- Spare batteries: 3 to 4 times your normal count for a day trip, 8 to 12 for a full expedition day with no return to base.
- Insulated pouches or neoprene sleeves for every spare battery, kept in inner pockets.
- A battery grip on your camera body if it accepts one. Doubling capacity on the rig itself cuts down how often you need to fish out spares with cold hands.
- Chemical hand warmers, at least one per person per day, placed near battery pouches.
- One or two USB-C power banks under 100Wh for phones and accessories.
- Terminal protection caps or tape for any battery riding loose in a bag.
Remember the airline basics: everything above stays in carry-on, and any power bank should have its watt-hour rating visible or documented in case security asks.
What do local guides actually do differently?
Guides working the fjords and mountains around Tromsø rotate batteries on a fixed clock, not a feel-it-out basis. Every 20 to 30 minutes, the active battery swaps to an inner chest pocket and a warmed spare comes out. Hand warmers ride nearby in the same pocket, never pressed directly against the cell.
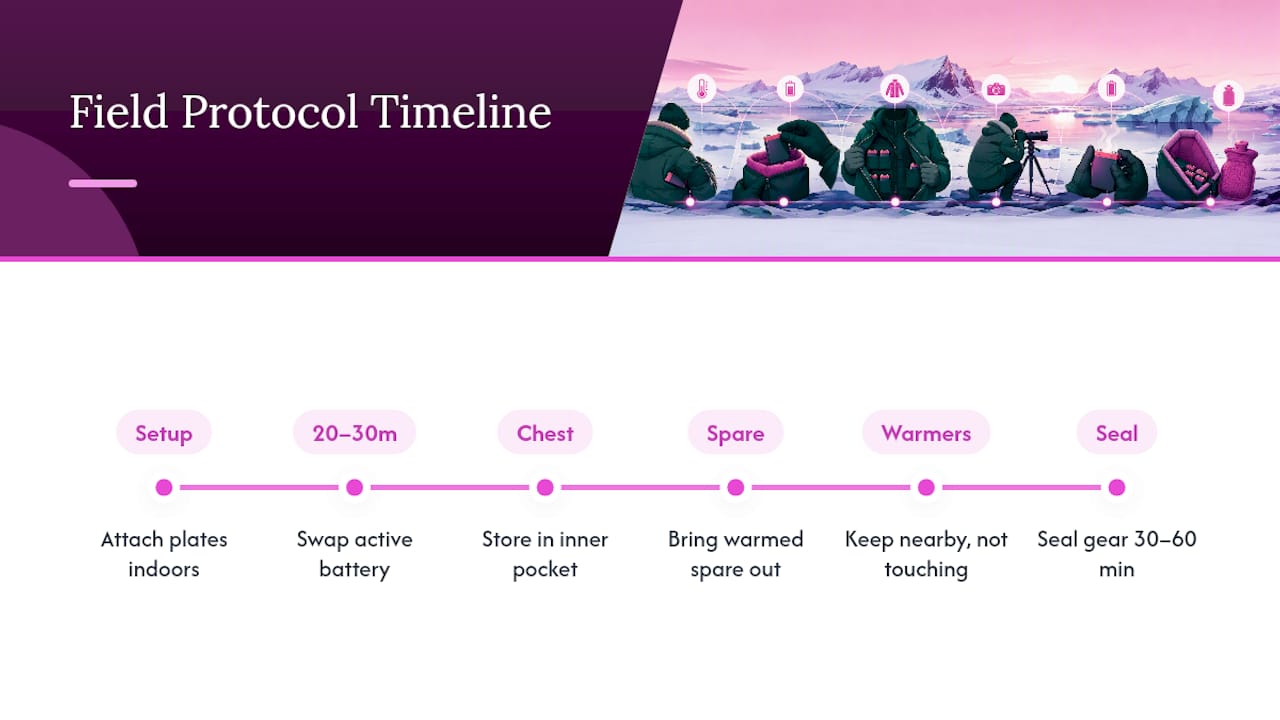
For heavier rigs, metal plates and tripod mounts get attached indoors before heading out. Metal pulls heat out of a battery through direct contact faster than cold air alone, so setup happens where it's warm, not on a windswept ridge.
Condensation protocol is just as disciplined: gear gets sealed before anyone steps into a heated van or cabin, and it stays sealed for 30 to 60 minutes regardless of how tempting it is to check a shot early.
Why battery discipline shapes the whole trip
I've heard enough stories from guides about a battery dying seconds before the aurora peaked to know this isn't a minor detail. One warmed spare, swapped at the right moment, can be the difference between a photo someone keeps forever and a blank memory card. Small private groups make this easier. Nobody's waiting on you to fumble with cold-numb fingers and a dead camera. There's time built in.
— Aleksander
Ready to shoot the aurora without the gear stress?
Battery logistics are exactly the kind of thing that gets easier with the right setup around you. On a Tromso Private Northern Lights Tour with the Aurora Guarantee, your guide builds in warm staging areas and unhurried timing, so you're not juggling battery swaps in the dark while trying to compose a shot.

For multi-day work, the Private Arctic Fjord Expedition & Hidden Gems tour follows the same approach across longer routes, with indoor breaks and vehicle transitions timed to protect your gear rather than rush past it. Small groups mean nobody's gear gets left out in the cold while the group waits. Check available dates and book directly through Crystal Sky Venture to lock in a spot before the season fills up.
Sources
- Arctic Photography Gear Guide: Essential Camera Equipment
- Keeping your camera functioning in arctic and sub-zero temperatures | Geometry & Silence
- How to Protect Your Camera and Batteries in Freezing Cold Weather (August 2026)